

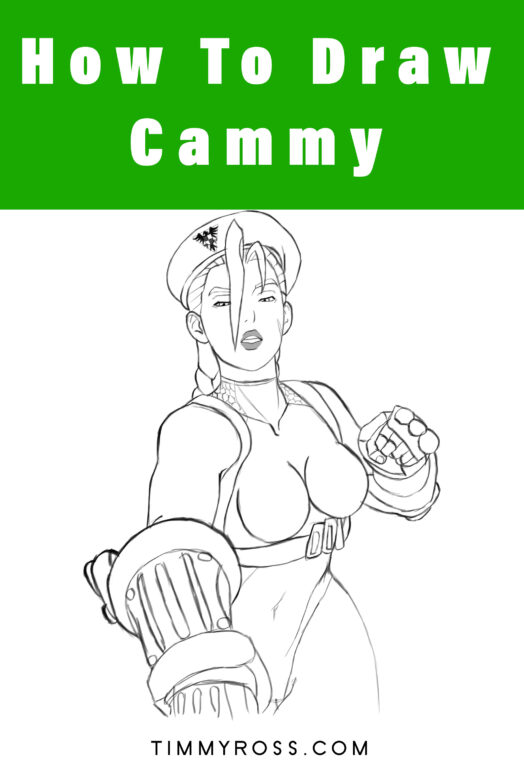
In this tutorial, we will be learning how to draw Cammy from Street Fighter. Cammy is a British Special Forces operative and often appears in the Street Fighter series. Her signature fighting style is called Delta Red and she can be seen wearing her iconic green bodysuit, blonde hair, and red beret.

Tools you’ll need:
- pencil (or a good tablet if you already have one on hand)
- paper
- eraser
Step 1:

Start by drawing a plain circle.
Step 2:
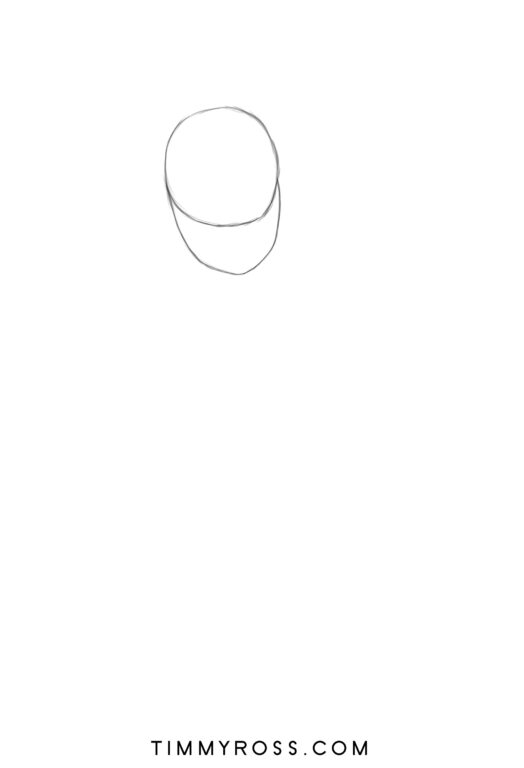
Now we draw the face. Starting from the right side of the circle, lightly sketch a curved line going to the left. Once you reach the chin, repeat the process on the other side of the circle.
Step 3:

Time to draw the neck. Draw two lines down the opposite sides of the head. Make sure not to make the neck too thick.
Step 4:
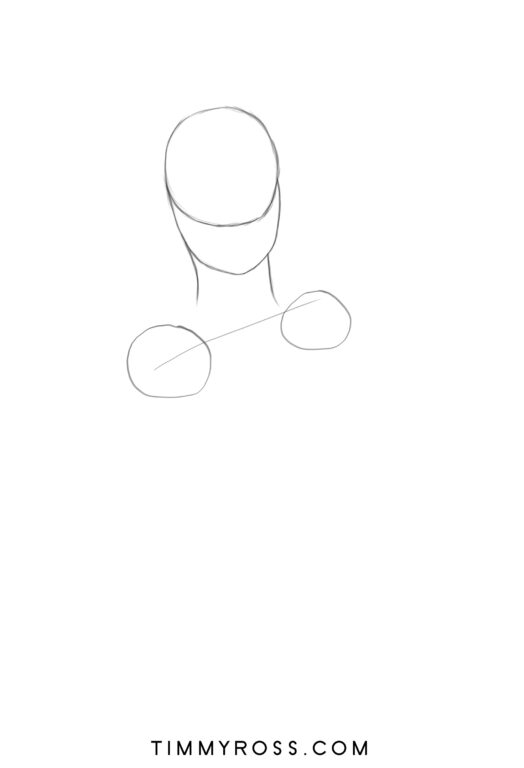
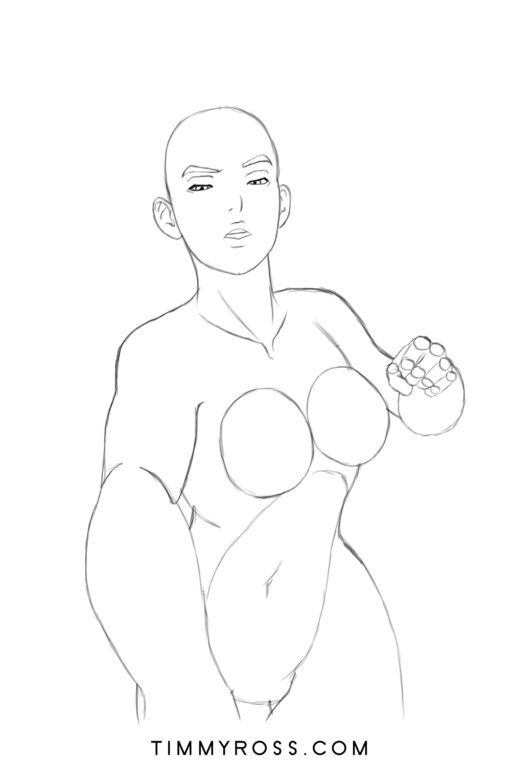
Now we need to draw the shoulders. The pose we are going to be doing will require one of the shoulders to be more raised than the other. First, draw a line below the bottom of the neck. After that, draw two circles on each side so you’ll know where the shoulders will be.
Step 5:
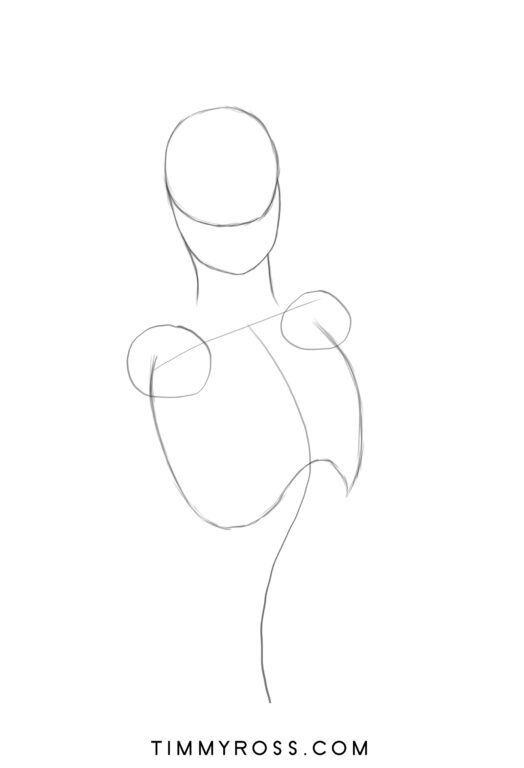
Let’s draw the torso next. First, draw a line starting from the middle of the line we used for the shoulder placement. Draw this line as seen in the picture above. The length of this line will be around 2 and a half heads long. After that, start drawing the rib cage.
Step 6:
Draw two elongated ovals for the hip bones.
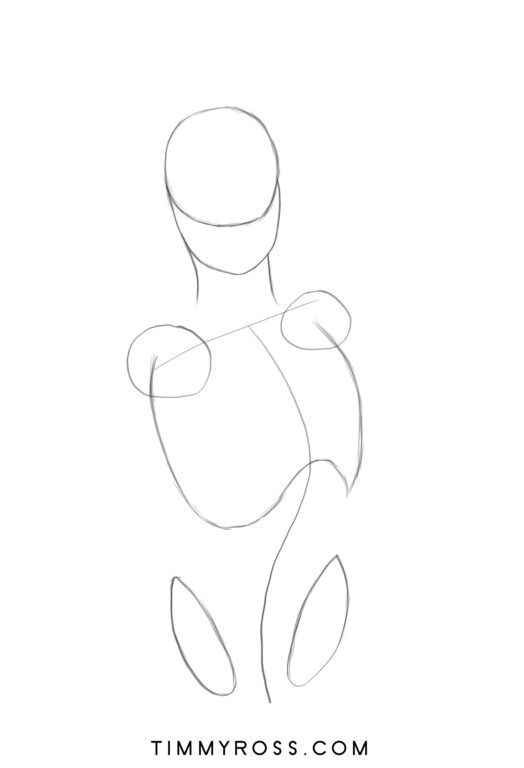
Step 7:
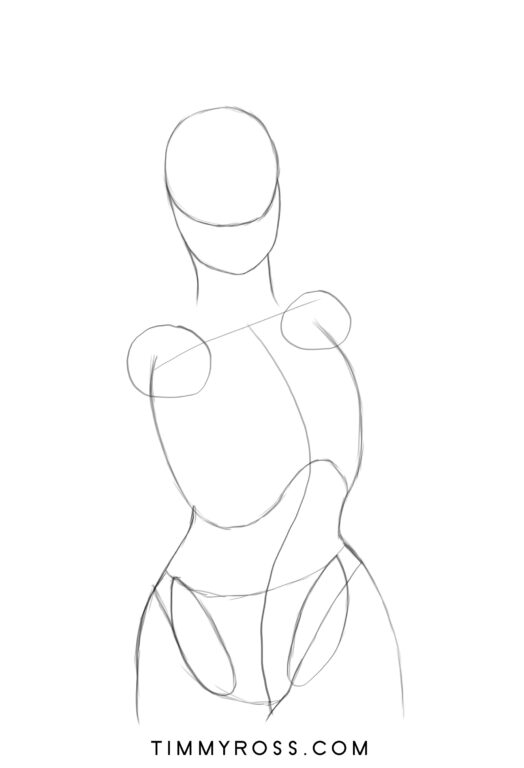
Starting from the bottom of the left rib cage, start drawing the hips. Keep in mind that since she’s a female, the hips will be wide. On the right side, repeat the process as you did on the left side but make sure the hip is angled up more as one side is lower than the other because of the pose she’s doing.
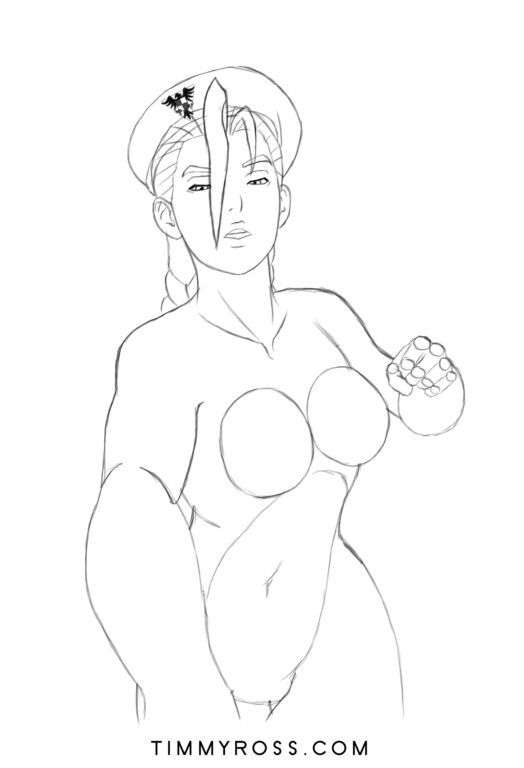
Step 8:

Now draw the arms. You could draw cylinders for both arms and then erase the lines that you don’t need for the final sketch.
Step 9:
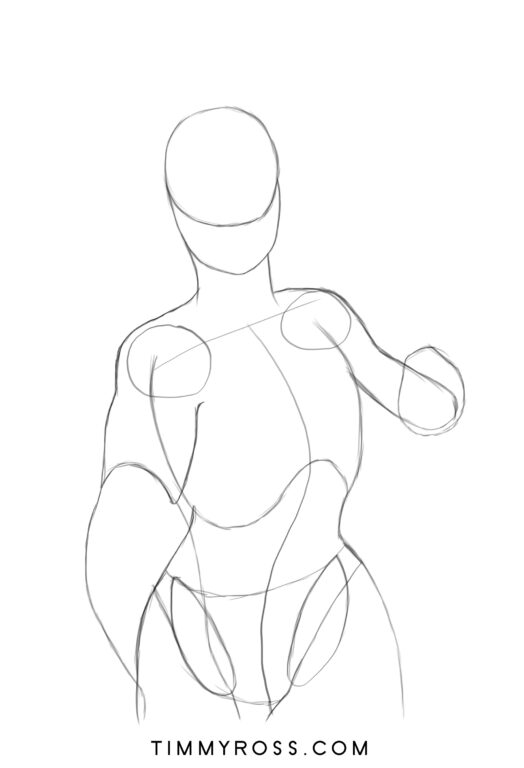
For the left arm, there’s a little bit of perspective, so make the forearm a little bigger than it naturally is. For the right arm, draw a teardrop shape for the forearm.
Step 10:
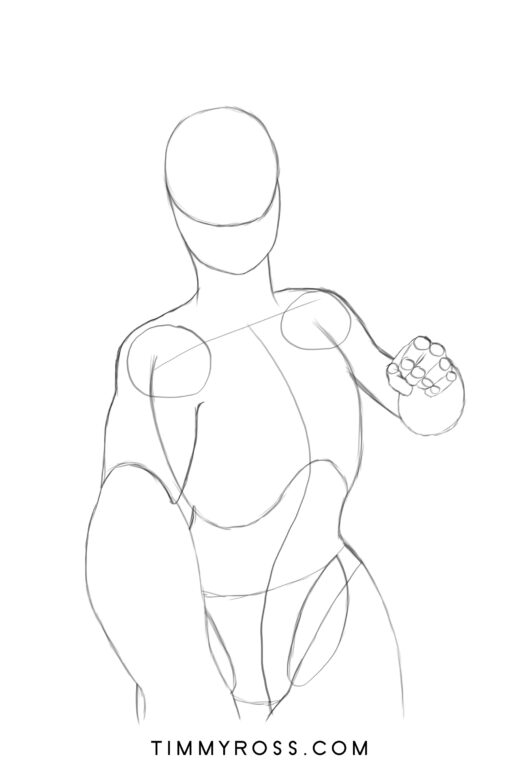
Erase the rough lines and draw the hand and fingers for the right arm. First, draw circles for the knuckles and then draw circles for the joints of the fingers. and then draw the fingers themselves.
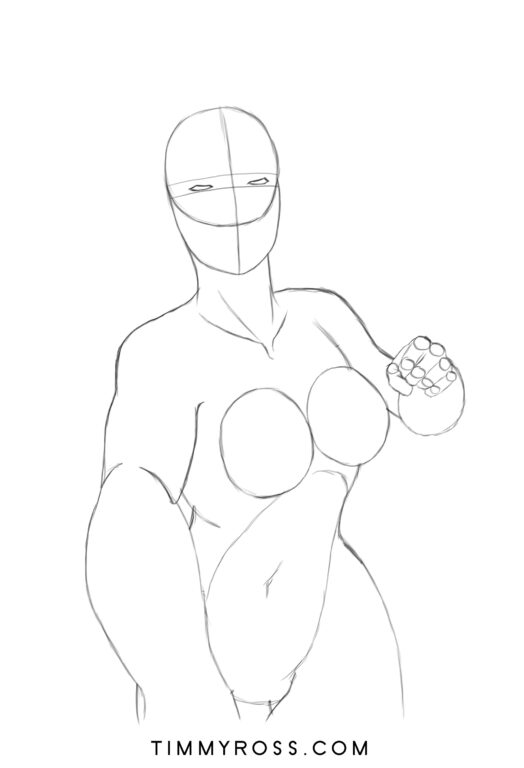
Step 11:

Erase the rough lines and draw the breasts.
Step 12:

After the breasts are done, lightly sketch in the stomach and erase part of the rib cage hiding behind the right breast.
Step 13:
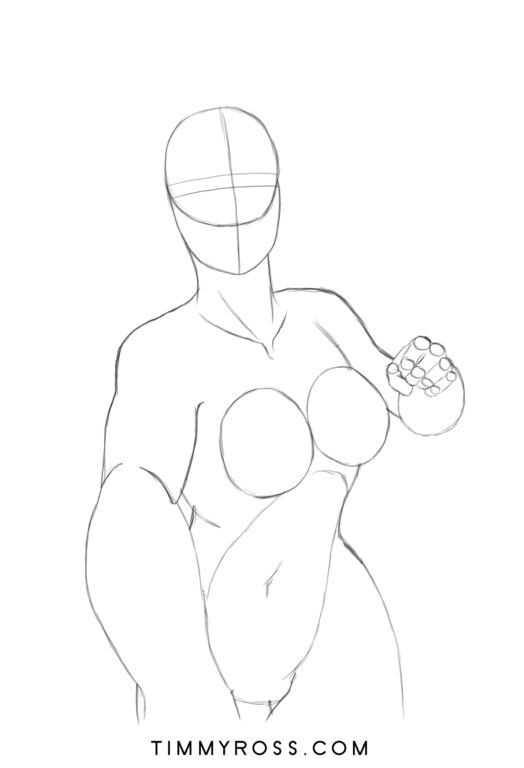
Before we start on the face, light sketch two lines opposite of each other across the face. This is where the eyes will go. After that, draw a line going down the middle of the face. This will be used as a guide on where the nose and mouth will be.
Step 14:
Now draw the eyes. She’ll be slightly squinting a little bit. I like to think of the shape as a pentagon.
Step 15:

Draw the eyeballs and then draw a circle in the middle of both eyes and darken them for the pupils.
Step 16:

Now draw the nose. Since the viewer is below her, the nose will be slightly higher up than usual.
Step 17:
Draw the nose and lips. Start by drawing the mouth first, then the teeth, and then the lips after.
Step 18:
Now darken the eyelashes and draw her eyelids.
Step 19:
Now it’s time for the ears. Because we are looking up at her, the ears will be drawn slightly below the eyes.
Step 20:

Time for the eyebrows. The eyebrow on the right will be more slightly raised than the one on the left.
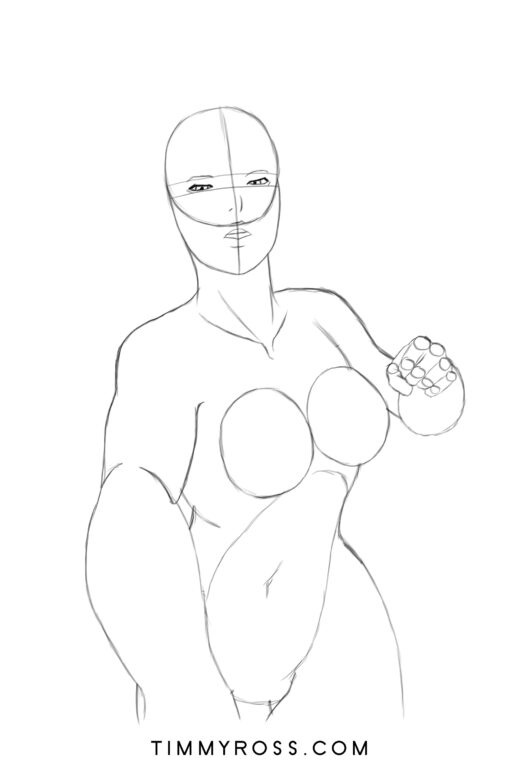
Step 21:
Erase all the rough guidelines we used for the head.
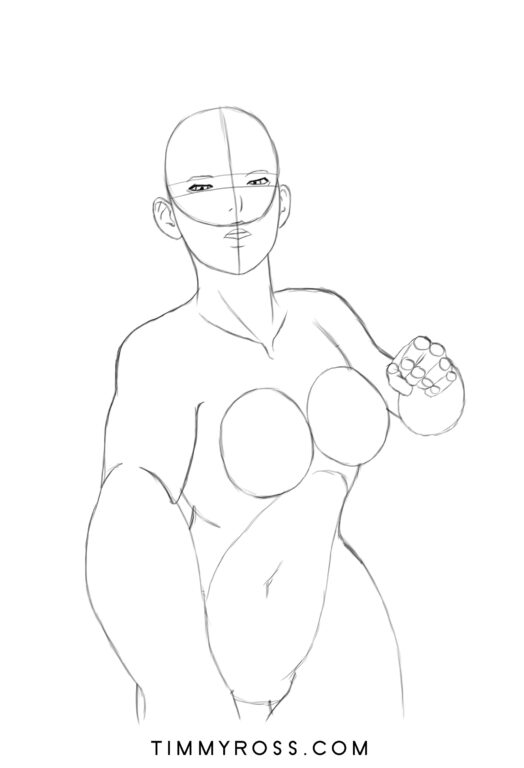
Step 22:
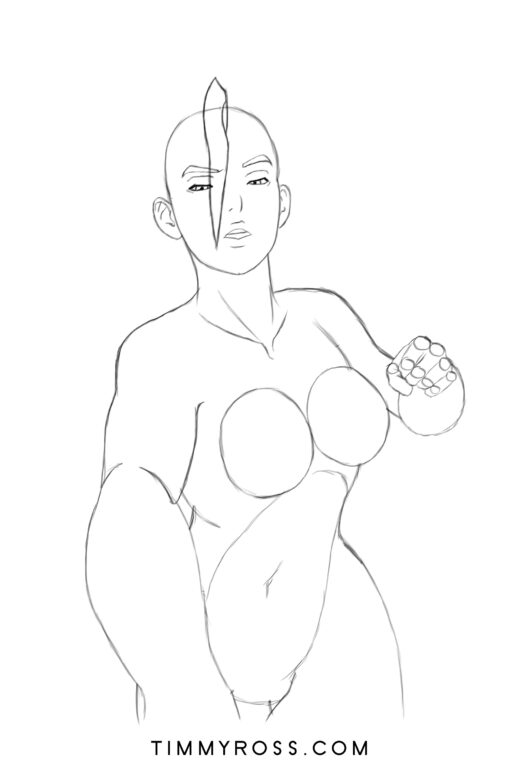
Time to draw her signature bang. Starting in the middle of the head, slightly above her eyebrows, sketch the initial portion of the bang, and then as you sketch it on the way up, slightly deviate and sketch a curved line to the left and then sketch the bang down past her eyes near the mouth. Do the same for the other side.
Step 23:
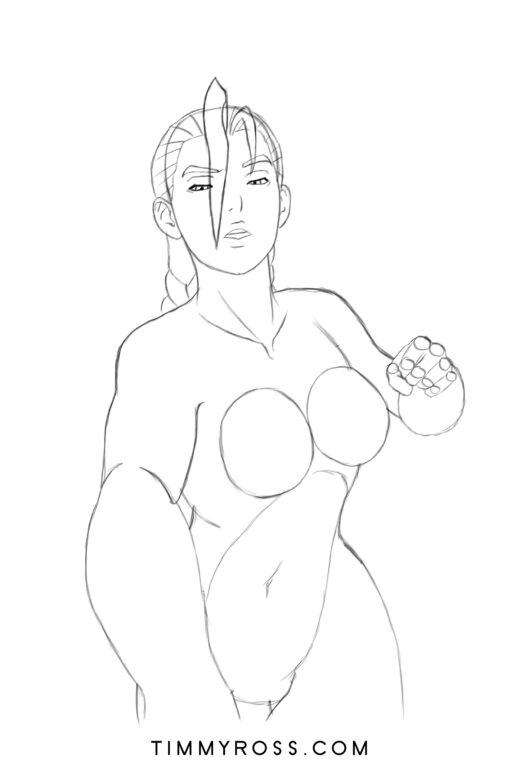
Now we sketched in the shorter bang and added the rest of her hair and a portion of her ponytails.
Step 24:
Erase part of the top of the head that’s hidden behind her hair.
Step 25:
Now we draw her beret. Lightly sketch in the beret. If you like what you’ve drawn, draw the emblem on the beret that looks like an eagle and a shield.
Step 26:
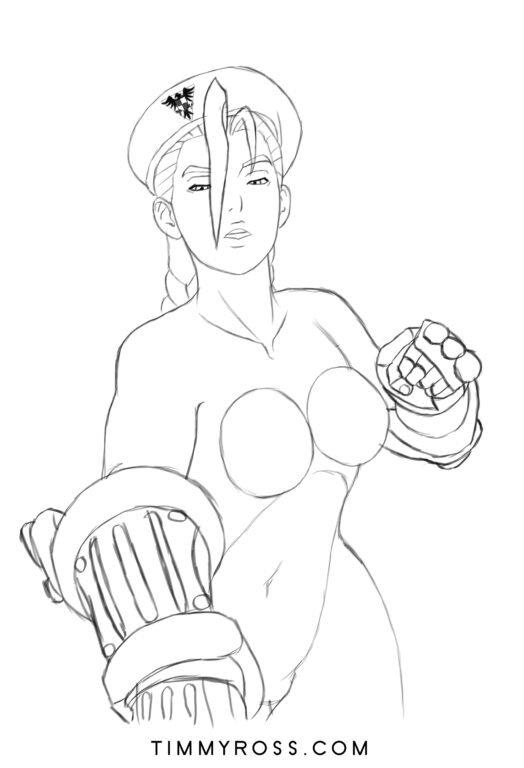
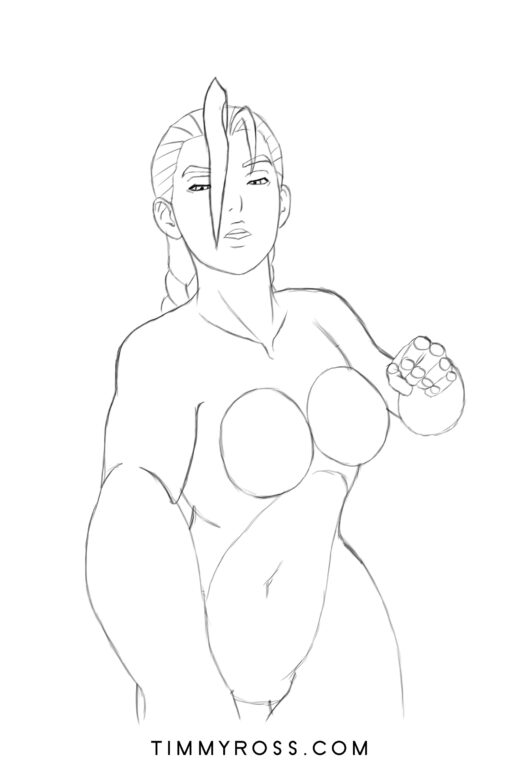
Her gloves have a lot of detail in them. Start by drawing two cylinders over her forearms and detail the inside of both gloves as seen in the picture above.
Step 27:
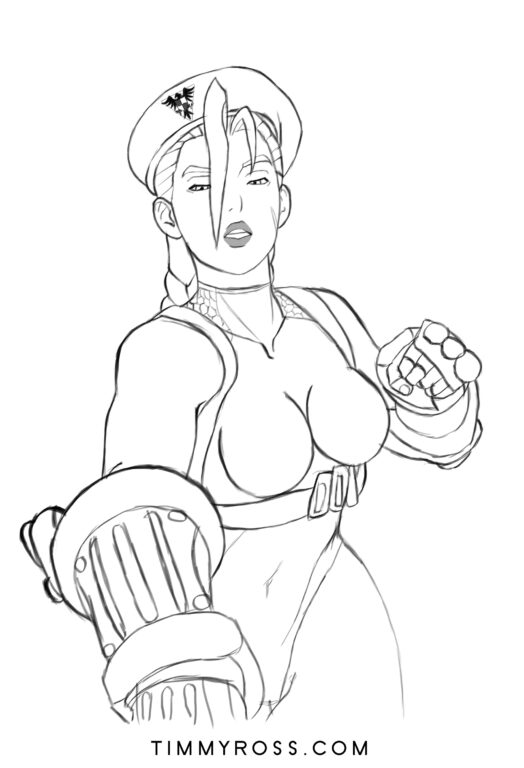
Now we draw the scar on the right side of her face and the rest of her clothes. Keep in mind the details on the neck area of her clothes and the strap under her breasts.
That’s it! You have completed your sketch of Cammy! Congratulations! I hope you enjoyed this tutorial and found it useful. Now go out there and create some amazing art! Good luck!
Guest post by Timothy Ross. He is a professional Illustrator and Real Estate Photographer. He’s the owner of TimmyRoss.com where he writes about everything in visual media, from Graphic Design to Photography.